Thinking about listing your Monfort Heights home but not your kitchen demo budget? You’re not alone. Many homes here were built mid-century, and a lot of kitchens still work well but look dated in photos. The good news is you can create a brighter, more modern look with smart, budget-conscious moves that buyers love. In this guide, you’ll learn which updates make the biggest impact, how much they might cost, what to DIY, and how to set up your kitchen to stand out in listing photos. Let’s dive in.
Why small updates work in Monfort Heights
Monfort Heights buyers are practical and price-sensitive. They tend to favor clean, neutral kitchens that feel move-in ready over costly custom remodels. That means simple cosmetic improvements can improve buyer perception and your photos without a full tear-out.
If your home was built before 1978, plan for lead-safe practices and disclosures. Review the federal rules on the EPA’s Renovation, Repair and Painting (RRP) program and the lead-based paint disclosure requirements for real estate. HUD also offers homeowner guidance on lead hazards and safe renovation steps in its lead information resources.
The budget-friendly refresh playbook
Paint for instant brightness
If your cabinets are sturdy, paint can deliver high ROI. Use a high-adhesion primer and a durable cabinet paint in semi-gloss or satin. Keep walls in warm greige, soft gray, or clean white, and paint trim and ceilings a crisp white to bounce light.
- Budget: DIY materials about $200 to $800; pro painter about $800 to $2,500, depending on scope.
- Timeline: Walls 2 to 5 days. Cabinets 3 to 7 days including curing and rehang.
Swap hardware and trim
New knobs and pulls instantly modernize cabinets. Choose a finish that matches light fixtures and the faucet for a cohesive look. If toe kicks or trim are scuffed, replace or repaint to clean up lines.
- Budget: $100 to $800 for hardware depending on style and count; add $100 to $400 if you hire installation.
- Timeline: 1 day DIY or pro.
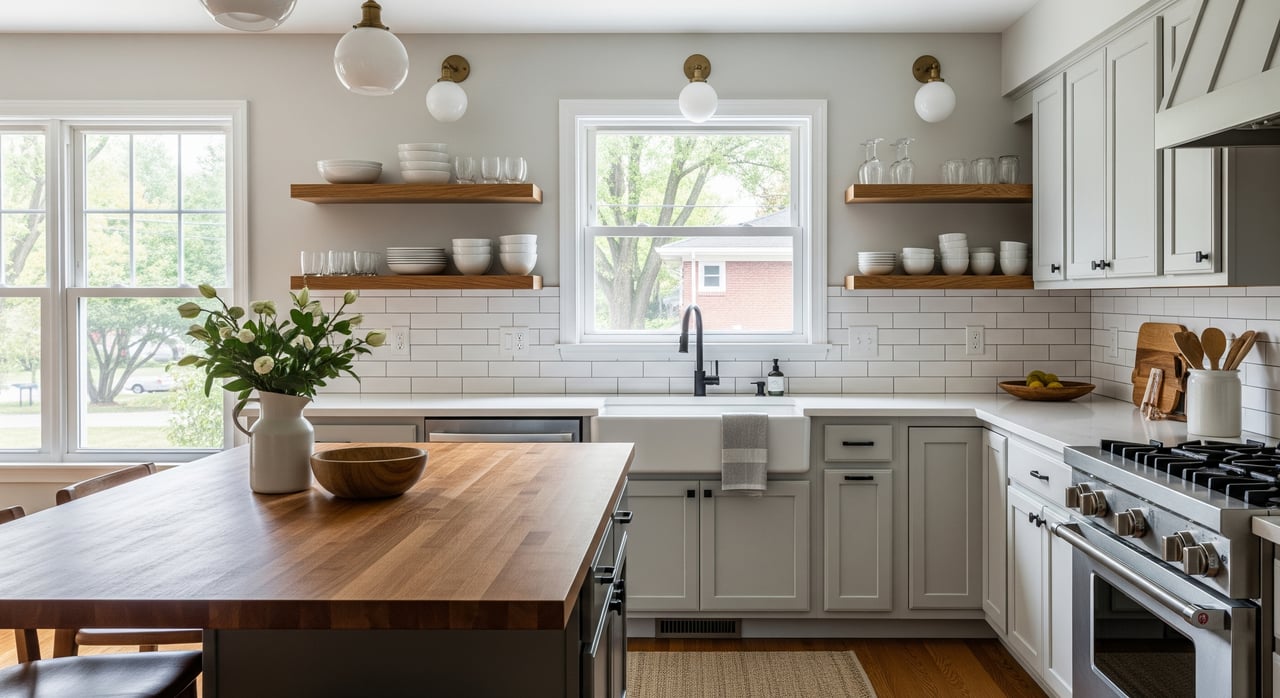
Countertops that look high-end
Counters are high impact in photos. Laminate is the most budget-friendly, especially in calm, low-contrast patterns. Butcher block adds warmth. Engineered quartz delivers a clean, durable, photogenic surface with subtle veining that feels upscale.
- Budget: Laminate about $20 to $50 per sq ft ($300 to $1,000 installed). Quartz about $40 to $120 per sq ft ($1,000 to $4,000 installed). Butcher block about $40 to $100 per sq ft.
- Timeline: Fabrication 1 to 2 weeks, 1 day to install.
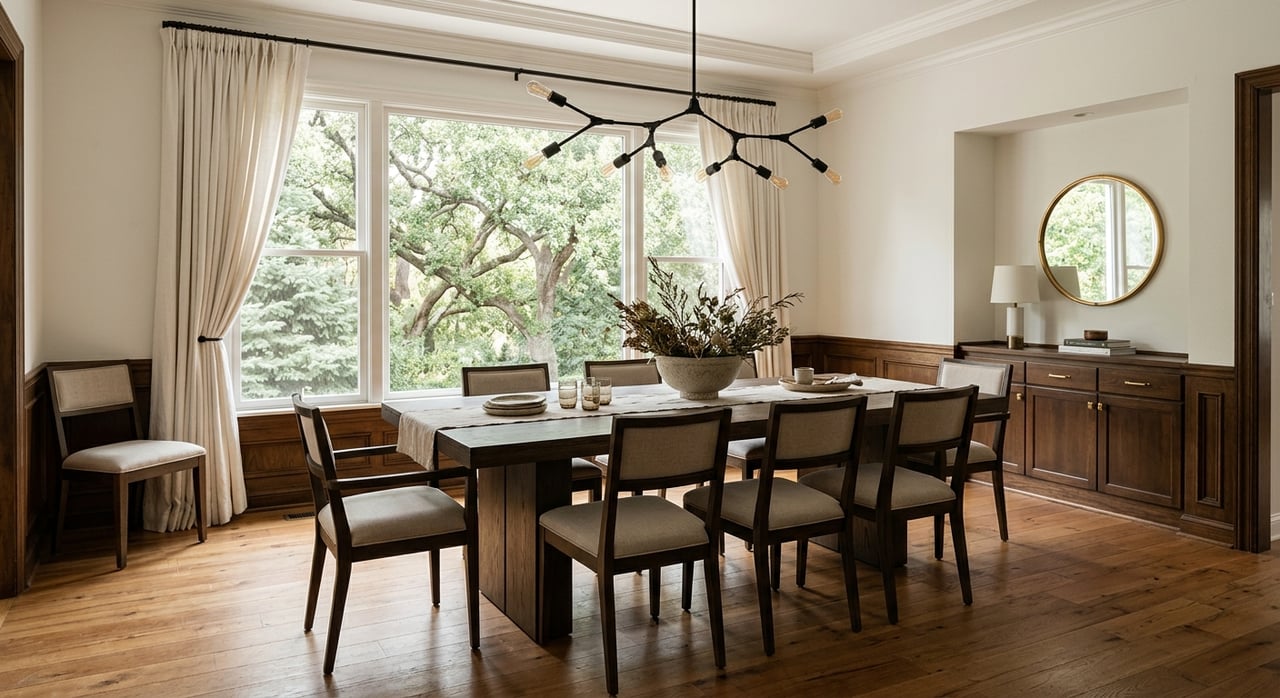
Lighting that flatters every photo
Layer your lighting: ambient at the ceiling, task under cabinets, and accents like pendants. Use warm bulbs, 2700 to 3000 K, with a high CRI above 90 so finishes look true in photos. Swapping fixtures keeps costs down if you’re not moving wiring.
- Budget: New fixtures $75 to $600 each; under-cabinet LEDs $100 to $400 installed; recessed cans $150 to $400 per can when new wiring is needed.
- Safety: Hire a licensed electrician for anything beyond a simple fixture swap.
Backsplash for texture and depth
Stick with timeless choices that won’t fight your counters. Classic subway tile, elongated subway, or a large-format tile keeps lines clean. Peel-and-stick tile is a quick, low-cost option for staging when you want a fast refresh.
- Budget: Peel-and-stick $5 to $15 per sq ft. Pro-installed ceramic or porcelain $15 to $40 per sq ft. Natural stone or slab $40 to $120+ per sq ft.
- Timeline: 1 to 3 days depending on layout.
Small upgrades with big payoff
- Replace an old faucet with a modern silhouette in brushed nickel, matte black, or brass ($100 to $500 installed).
- Add a short run of open shelving for a styled photo moment ($50 to $300 DIY).
- Install under-cabinet LED lighting to remove counter shadows.
What to DIY and what to hire
- DIY-friendly: Painting walls, swapping hardware, peel-and-stick backsplash, plug-in under-cabinet lights, and simple faucet replacements if you’re comfortable.
- Hire pros: Cabinet refinishing, electrical beyond a straight swap, countertop fabrication and installation, tile over uneven surfaces, and any demo where lead or asbestos could be present.
Photo-friendly palettes that sell
Keep your palette tight with 2 to 3 main colors and add texture through tile, wood grain, or subtle veining. Use matte or honed finishes to reduce glare. Align metals across hardware and lighting for a cohesive look.
Clean Classic: Bright and timeless
- Cabinets: Soft white
- Counter: White quartz with subtle gray veining
- Backsplash: Subway tile with off-white grout
- Hardware: Brushed nickel or polished chrome
- Why it works: Reflects light and reads crisp in photos
Warm Neutral: Cozy and approachable
- Cabinets: Warm greige
- Counter: Honed or matte quartz in warm beige or stone tones
- Backsplash: Textured tile for depth
- Hardware: Brushed or antique brass
- Why it works: Welcoming look that appeals to broad buyer groups
Modern Contrast: Urban and refined
- Cabinets: Deep navy or charcoal lowers with white uppers
- Counter: Warm wood butcher block or warm white quartz
- Backsplash: Elongated subway or subtle herringbone
- Hardware: Matte black or brushed gold
- Why it works: Clear focal points and clean lines for strong photos
Scandi Light Wood: Bright and textured
- Cabinets: Soft white or light gray with open light wood shelves
- Counter: White or pale quartz; optional light butcher block on the island
- Backsplash: Large-format tile or textured white tile with minimal grout
- Hardware: Satin nickel or matte black
- Why it works: Airy images that emphasize space
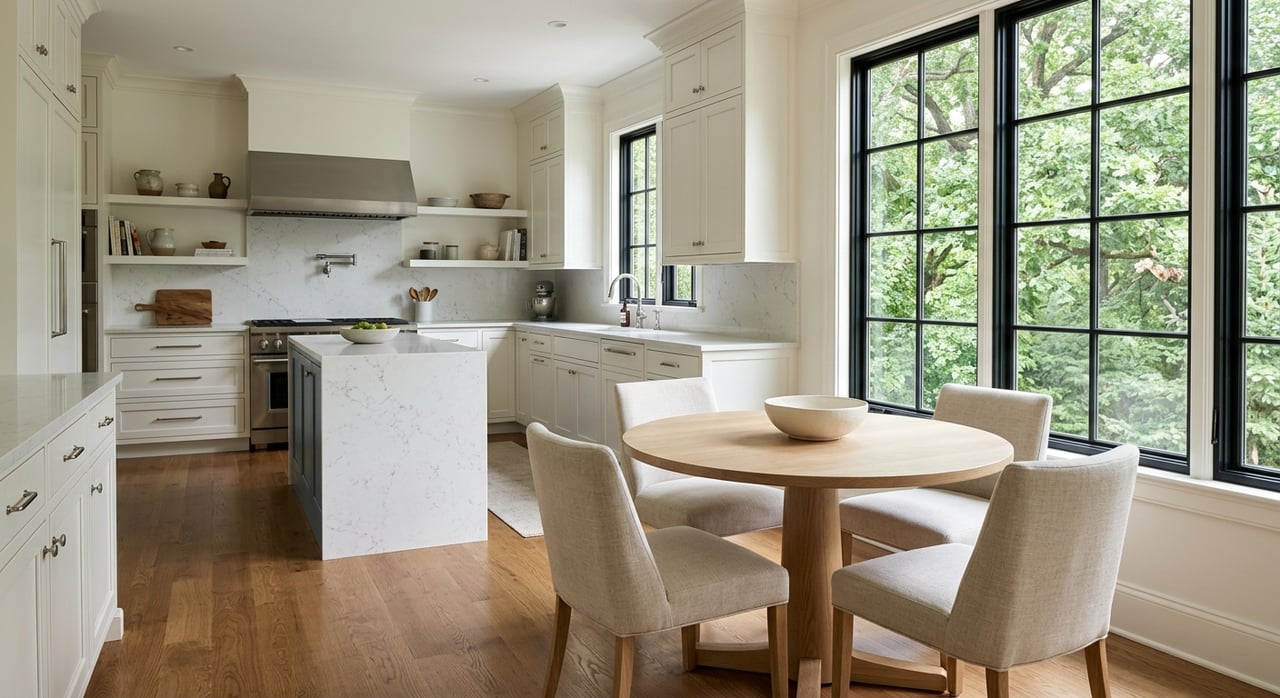
All-White With Texture: Minimal luxury
- Cabinets: Bright white, slab or simple Shaker
- Counter: Single-slab quartz; waterfall if budget allows
- Backsplash: Marble-look or full slab for continuity
- Hardware: Minimal polished nickel or concealed pulls
- Why it works: Clean, high-end impression when lighting is even
Permits, safety, and timing
When you need permits
Most cosmetic updates like paint, hardware, counters, and straightforward fixture swaps do not require permits. Adding new electrical circuits, recessed lighting, or moving plumbing usually triggers permits and licensed work. Check local rules with the City of Cincinnati Buildings and Inspections or the Hamilton County Building Inspections office.
Lead and asbestos safety
For homes built before 1978, lead-safe practices are essential when disturbing painted surfaces. Review the EPA RRP program requirements and federal lead disclosure rules. HUD’s lead hazard guidance explains how to plan safe work. If you suspect asbestos in older flooring, ceiling finishes, or mastics, test first and use licensed abatement if needed.
Sample timeline and budget
- Planning and ordering: 1 to 3 weeks
- Paint and hardware: 3 to 7 days
- Countertops: 1 to 3 weeks lead time; 1 day install
- Backsplash: 1 to 3 days
- Lighting: 1 to 2 days for swaps, longer if new wiring
Budget ranges for a small to modest kitchen:
- Paint: $200 to $2,500
- Hardware: $100 to $800
- Countertops: Laminate $300 to $1,000; Quartz $1,000 to $4,000
- Backsplash: Peel-and-stick $50 to $300; Pro tile $300 to $2,500
- Lighting: $200 to $1,200
- Contingency: Add 10 to 20 percent for surprises
Local sourcing and contractor tips
Get multiple bids for countertops and electrical work. Ask fabricators to show you full slabs or large samples, and confirm edge profiles in writing. For materials, you can compare big-box options with regional tile and countertop showrooms, and check Habitat ReStore or local salvage for budget finds.
Verify trade licenses and insurance and ask for references. For Monfort Heights addresses, confirm permit needs and contractor credentials with the City of Cincinnati or Hamilton County before work starts.
Staging and photography checklist
- Clear counters and store most small appliances; keep one attractive item if needed.
- Add a simple vignette: a bowl of lemons, a fresh towel, or a small plant.
- Clean and polish sinks and faucets to remove water spots.
- Use warm bulbs, 2700 to 3000 K, with CRI above 90. Turn on pendants and under-cabinet lights for evening photos.
- Avoid mixed color temperatures across bulbs. Open blinds for daytime shoots and balance natural light with soft, even interior lighting.
Set realistic ROI expectations
Modest kitchen refreshes are among the most cost-effective ways to improve buyer appeal and photos compared with full remodels. National reporting regularly shows that targeted updates can recoup a significant portion of costs relative to large-scale renovations. For context on typical payback trends, review the national Cost vs. Value Report. Your final choices should align with local expectations, and a Monfort Heights-focused plan will serve you best.
Ready to plan your refresh?
You don’t need a gut renovation to make a great first impression in Monfort Heights. With the right paint, hardware, lighting, and a calm countertop and backsplash pairing, you can create a bright, market-ready look that photographs beautifully. If you’d like help prioritizing finishes, coordinating contractors, and staging for standout photos, connect with Unknown Company. Find Your Match: Start Here.
FAQs
What are the most cost-effective kitchen updates before selling in Monfort Heights?
- Focus on paint, updated hardware, improved lighting, and a calm, photo-friendly counter and backsplash; these deliver high visual impact without major expense.
Do I need permits for a kitchen refresh in Hamilton County?
- Cosmetic updates usually do not require permits, but new electrical circuits, recessed lighting, or plumbing layout changes often do; confirm with the city or county building department.
How do I handle lead-safe renovation in a pre-1978 home?
- Review EPA RRP rules and federal disclosure requirements, and follow HUD guidance; hire RRP-certified contractors for work that disturbs painted surfaces.
Which lighting works best for kitchen photos?
- Use warm bulbs at 2700 to 3000 K with CRI above 90, layer ambient, task, and accent lighting, and avoid mixed color temperatures across fixtures.
What can I DIY and when should I hire a pro?
- DIY painting, hardware swaps, peel-and-stick tile, and simple faucet or plug-in lighting updates; hire pros for electrical beyond a fixture swap, countertop work, complex tile, and any project with lead or asbestos risks.